
Personal Blog with Jekyll and OpenResty
This article explores the creation of personal blog or web site using Jekyll and OpenResty.
Jekyll is a popular open-source static site generator known for its simplicity and compatibility with version control systems. It allows users to easily create portable and maintainable websites without complex content management systems. With features like layout templates, blogging support, and custom themes, Jekyll simplifies the website creation process.
On the other hand, OpenResty combines NGINX with Lua programming, providing developers with a web platform for building dynamic and scalable applications. By extending NGINX’s capabilities with Lua scripting, OpenResty empowers developers to create high-performance websites and APIs. With its wide range of third-party modules and extensions, OpenResty offers flexibility and performance for high-traffic environments.
Without getting into how Jekyll and OpenResty works, let’s follow the steps of creating such a personal blog site with following prerequisites/assumptions.
- You have a machine, virtual or not, hosted by cloud hosting provider, such as Digital Ocean, Liquid Web, etc.
- You have a registered domain name called yourblog.com
- You have configured DNS to use your cloud hosting provider’s name servers to resolve your domain name and also updated its DNS records to bind the domain name with the hosting machine.
- You have ssh root access to the hosting machine.
- The hosting machine has docker and git installed, either the machine comes with them or you installed them.
Set up an OpenResty server on your hosting machine
The goal here is to set up an OpenResty server, which is expected to
- serve site content
- support https with Let’s Encrypt certificate, which is free but trusted by most browsers
- support certificate auto-renewing
STEP 1. build OpenResty docker image
# ssh onto the hosting machine
# ssh -i ~/.ssh/<ssh_identity> root@yourblog.com
# ssh -i ~/.ssh/<ssh_identity> root@the-hosting-machine-ip

cd ~

git clone https://github.com/aftersound/blog_hosting
cd blog_hosting

docker build -t openresty --build-arg CN=yourblog.com $(pwd)/openresty/docker
STEP 2. start an OpenResty server
docker run -d -p 80:80 -p 443:443 \
-v $(pwd)/openresty/nginx/conf/nginx.conf:/usr/local/openresty/nginx/conf/nginx.conf \
-v $(pwd)/_site:/usr/share/_site \
openresty
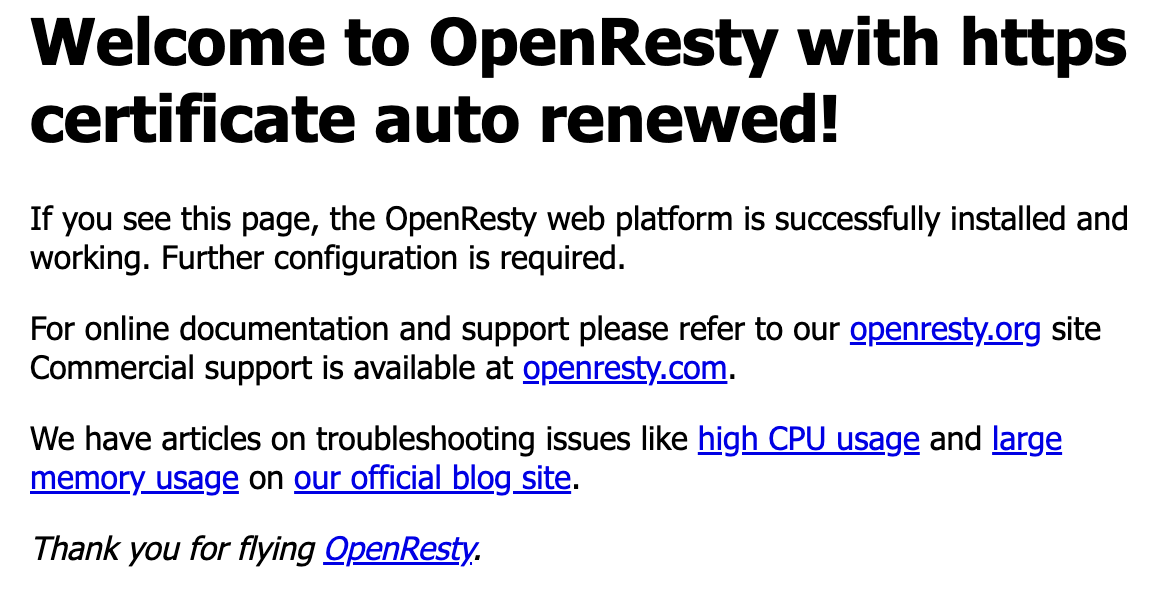
STEP 3. test the server in browser
Open https://yourblog.com in browser and something like following is expected to display in the browser.
Design your Jekyll site
The goal now is to set up an environment in which you can design the look-and-feel of your blog site based on Jekyll. It’s suggested to set it up on your personal computer because it’ll be much easier with IDE like Visual Studio Code or IntelliJ IDEA.
STEP 1. choose a Jekyll template
You don’t have to start from scratch. There are hundreds of Jekyll templates, free or commercial, available for your choice, at https://jekyllrb.com/resources/, for you to begin with.
STEP 2. clone chosen Jekyll template
Take Jekyll template ‘Minimal Mistake’ as an example,
git clone https://github.com/mmistakes/minimal-mistakes blog
STEP 3. modify the chosen template
Follow the template’s guide to customize the layouts, includes, pages, style, etc. to suit your need. It’ll take some time, so be patient with yourself.
STEP 4. test and preview your site’s look-and-feel
cd blog

# create/initialize a new Jekyll web site
docker run -v $(pwd):/site bretfisher/jekyll new .

# start a web server for preview purpose
# during the starting process, static site content will be generated in folder '_site'
docker run -p 4000:4000 -v $(pwd):/site bretfisher/jekyll-serve
Once the server is started, you can preview the site by opening http://localhost:4000 in browser.
STEP 5. view your site served by OpenResty server
# secure copy the generated site content from your computer to the hosting machine
scp -i ~/.ssh/<ssh_identity> -r ./_site root@yourblog.com:~/blog_hosting
Open https://yourblog.com in browser to see the pages. It is expected to work.
Create and publish posts in Markdown format
With the site look-and-feel sorted out, you can now focus on posts. It’s extremely easy to write posts with Jekyll, if you know Markdown format a bit and Jekyll header. Below are the steps of creating and publishing your posts.
STEP 1. write post in Markdown format with Jekyll header
Following is the Jekyll header, as an example, of this post in Markdown format.
---
title: "Personal Blog with Jekyll and OpenResty"
excerpt_separator: "<!--more-->"
categories:
  - misc
tags:
  - how-to
  - blog
  - Jekyll
  - OpenResty
---
STEP 2. run jekyll-serve to regenerate static site content
docker run -p 4000:4000 -v $(pwd):/site bretfisher/jekyll-serve
The posts in Markdown format will be converted to static html files and placed under ‘_site’ folder by Jekyll during the process.
STEP 3. publish the posts simply by copying the _site content to the hosting machine
# secure copy the generated site content from your computer to the hosting machine
scp -i ~/.ssh/<ssh_identity> -r ./_site root@yourblog.com:~/blog_hosting
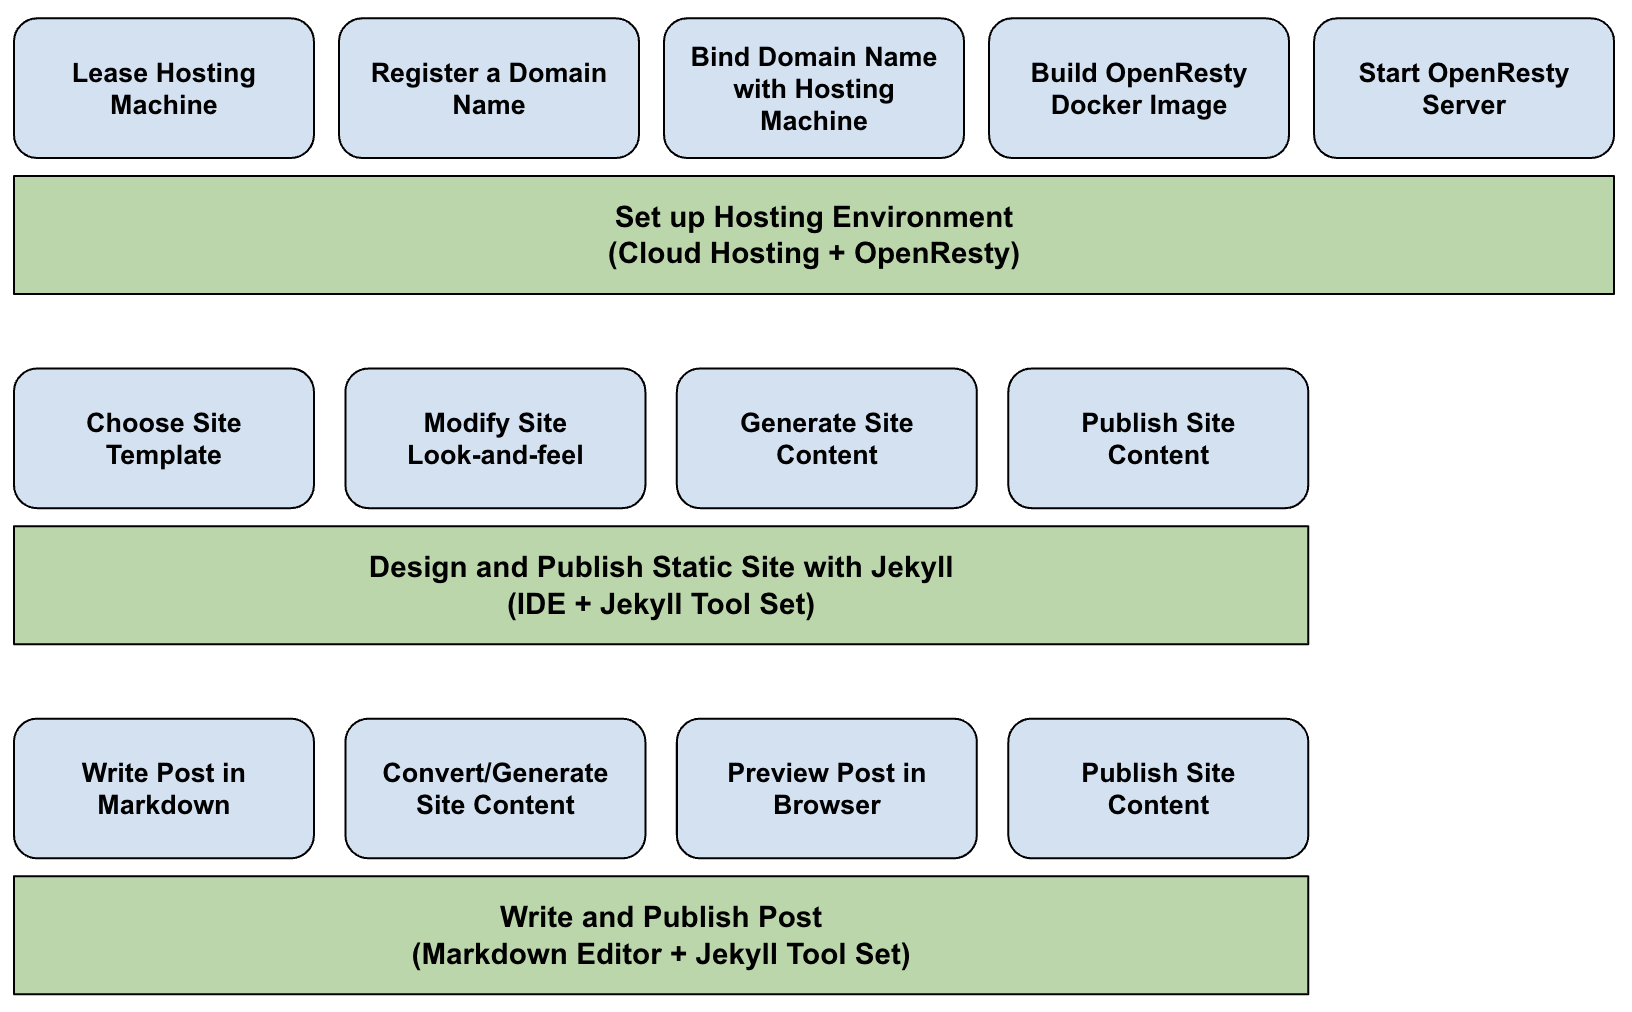
Recap
Below is the recap of the steps to create and host your personal blog site backed by Jekyll and OpenResty.
- Lease a hosting machine from a cloud hosting provider, such as droplet from Digital Ocean.
- Purchase a domain name from a domain register, such as GoDaddy.
- Update DNS configuration to bind your domain name with the hosting machine.
- Create OpenResty docker image and start an OpenResty server on the hosting machine which supports https with Let’s Encrypt certificate.
- Design and publish your Jekyll site with IDE and Jekyll tools.
- Create and publish your posts.
Hope it helps. Cheers!